Mouthwatering Mexican wedding cookies

Mexicanweddingcookies061514Last week my team had a Mexican-themed potluck. Because I now take the bus to work every day, I had to come up with something that could be easily transported. Naturally, I went with something I could bake.

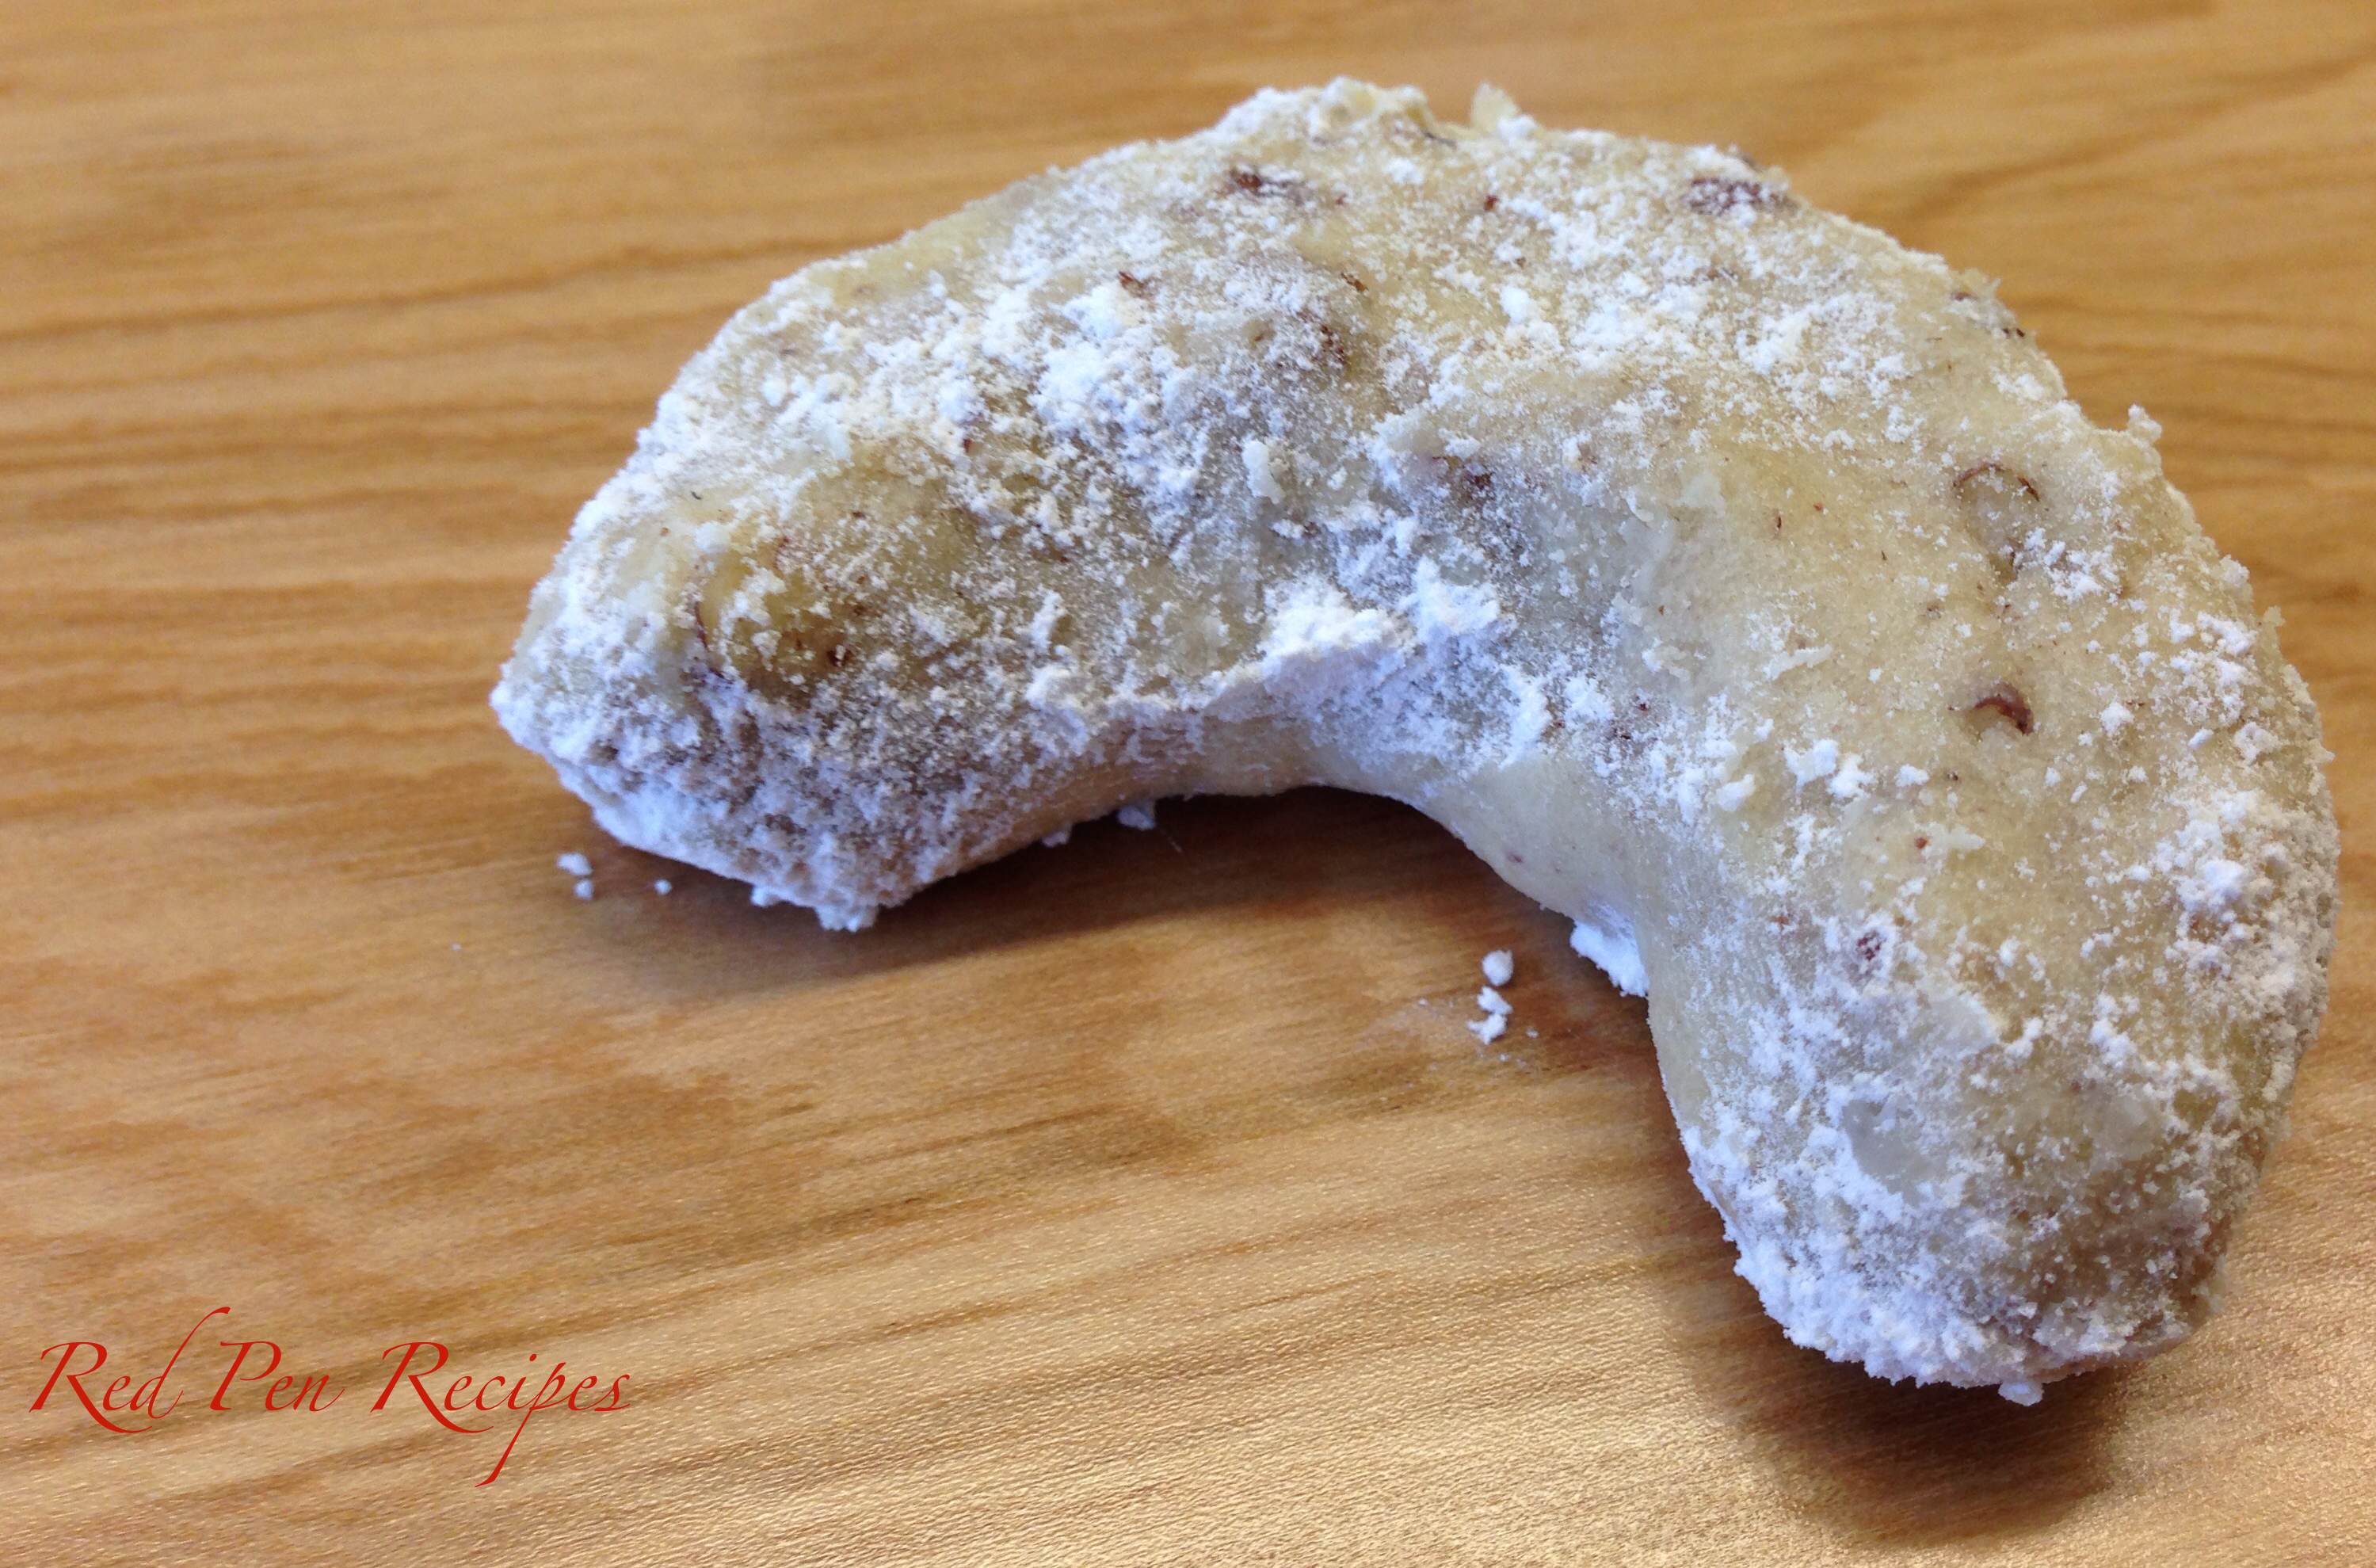
I can’t remember where I found this recipe for Mexican wedding cookies, but it’s one of few that I have memorized. It’s simple enough to put together, and they’ve always been a hit. For those of you who haven’t had Mexican wedding cookies before, they’re like more fragile pecan sandies and are similar to Russian tea cookies. They’re a shortbread cookie, and even though the dough may seem too soft going into the oven, trust that they’ll hold their form.

Ingredients
1 cup unsalted butter, at room temperature
1/2 cup powdered sugar, plus another 2 tablespoons for dusting
1 teaspoon vanilla extract
1 3/4 cups all-purpose flour
1 cup pecans, chopped

Preheat oven to 275 degrees F. Line two cookie sheets with parchment paper

Cream together butter and 1/2 cup sugar. Mix in vanilla. Gradually add flour until combined. Stir in pecans.

Take 1 tablespoon of dough and, using your hands, shape it into a crescent and place it on the cookies sheet. Repeat with remaining dough. Bake for 40 minutes.

When cool, dust with remaining two tablespoons of sugar.

Light, delightful coconut bread

coconutbread

Spring gets me in the mood to make quick breads with fresh fruit and light flavors. I had a bag of unsweetened coconut in my cupboard that had gone unused for months, so I decided it was time to put it to good use. I came across this recipe for coconut bread from Smitten Kitchen and decided it was the best way to use it.

I don’t like overly sweet breads so, though her recipe called for sweetened coconut, I used the unsweetened coconut I had without adding any sugar, and it was perfect. The bread is light, fluffy, and slightly sweet.

Heed the warning not to overmix the batter. I did that on my first attempt and it made the bread far too dense. The second time around, it was perfect.

Ingredient
2 large eggs
1 1/4 cups milk
1 teaspoon vanilla extract
2 1/2 cups all-purpose flour
1/4 teaspoon table salt
2 teaspoons baking powder
1 teaspoon ground cinnamon
1 cup granulated sugar
1 1/2 cups sweetened flaked coconut
6 tablespoons unsalted butter, melted or melted and browned, if desired
Vegetable oil or nonstick cooking spray for baking pan

Heat oven to 350 degrees. In a small bowl, whisk together eggs, milk and vanilla.

In a medium bowl, sift together flour, salt, baking powder and cinnamon. Add sugar and coconut, and stir to mix. Make a well in the center, and pour in egg mixture, then stir wet and dry ingredients together until just combined. Add butter, and stir until just smooth — be careful not to overmix.

Butter and flour a 9×5-inch loaf pan, or coat it with a nonstick spray. Spread batter in pan and bake until a toothpick inserted into the center comes out clean, anywhere from 1 to 1 1/4 hours. Cool in pan five minutes, before turning out onto a cooling rack.

Simple sweet potato fries

sweetpotatofries041314

Try, try again — and then keep trying until you finally figure it out. That’s what I did with this recipe for sweet potato fries.

Over the past few months I tried making sweet potato fries that were somewhat soft on the inside and a bit crisp on the outside. My first couple attempts were failures due to too much oil that left the fries soggy. When I reduced the amount of oil, the fries still didn’t get crisp, so I started lining the baking sheet with parchment paper. That helped a great deal, but there was still too much oil. I needed something to soak it up. I read someone else’s recipe for sweet potato fries, and they said they added cornstarch, so I did the same. The fries were almost there, they just needed more seasoning. I’m glad to say that, on about my seventh attempt, I got a recipe I can use again for sweet potato fries.

This recipe makes a single serving, but can easily be multiplied to make as much as you want. Enjoy.

Ingredients
1 sweet potato
1 tablespoon olive oil or vegetable oil
1 1/2 tablespoons arrowroot or cornstarch
1/2 teaspoon powdered ginger
1/2 teaspoon salt
1/4 teaspoon cayenne pepper

Preheat oven to 425 degrees. Meanwhile, peel potato and cut into 1/4-inch strips, or as uniformly as possible so they fries cook evenly.

Line a baking sheet with parchment paper. Fill a one-gallon sealable plastic bag with the arrowroot, ginger, salt and cayenne pepper.

On either a cutting board, in a bowl, or in another bag, drizzle the olive oil over the cut potato. Mix until fries are evenly coated. Put the potato pieces in the bag with the dry mixture. Seal the bag and shake until fries are evenly coated.

Place fries on the parchment paper in a single layer. Be sure to avoid crowing so they don’t stick together and keep from getting crisp. Bake for 15 minutes, then remove from oven, turn fries over, and bake for about 15 minutes more, or until slightly crispy. Serve hot.

Curious about quinoa

Quinoaporridge040614

This is what I had for breakfast this morning. I made quinoa once a long time ago for a cold salad. It was good, but I hadn’t seen any recipes since that made me want to revisit the grain, until this recipe arrived in my inbox a few weeks ago. I had forgotten about it until I went grocery shopping yesterday and saw quinoa on the shelf.

Now that I’m working normal daytime hours for the first time in a long time, I’m realizing that I really do need to eat breakfast. Skipping it and waiting for lunchtime leaves me lagging, especially since by that time I’ve already been awake for six or seven hours. So, I’ve been looking for things I can make quickly in the morning, just to get a good start to the day.

When I saw that this recipe was called porridge, I instantly pictured the soupy, unappetizing substance served in “Oliver Twist.” I don’t know why that’s the first thing that came to mind, but it was. This quinoa porridge turned out to be quite good, and was a satisfying start to the day. I added to the original recipe because I like more texture in my food.

Know that the amount of quinoa made below is more than you’ll need for one serving of this porridge. But, if you want to make it for more than one, or have quinoa to keep in the fridge for other dishes, make the full amount. If you do want to make just one serving, use 1/3 cup quinoa and 2/3 cup water.

Ingredients
2 cups water
1 cup quinoa
2/3 cup almond milk
5 strawberries, hulled and chopped
1 tablespoon shredded raw coconut
2 tablespoons sliced almonds or whole pecans, toasted and chopped
1 1/2 teaspoons light agave nectar
Pinch of salt

Place quinoa in a pot and rinse and drain twice. Add 2 cups water and bring to a boil. Cover and let simmer for 10-15 minutes, or until outer germ layer separates and grain appears translucent.

In another pot, combine 1/2 cup quinoa and 2/3 cup almond milk. Bring to a boil over high heat. Cover pot, lower heat and simmer for 5 minutes. Remove lid and continue cooking for another 5 minutes, or until porridge is thick and creamy. Stir in strawberries, coconut, nuts, agave and salt. Serve warm.

Thanks for the lessons, Tahoe

Tahoe030914

This is my final weekend in Tahoe. I am moving back to Seattle this week, and I am so excited about that. I was thinking about what my final post at high altitude should be, and I’ve decided to talk about what I’ve learned. Here are the top five changes I consider when trying to make a recipe work at high altitude:

Reduce the leaveners. Cutting the baking soda or baking powder by about a half teaspoon is one of the most important changes I’ve learned to make. Leaving the full amount in for breads and cakes has caused so many baked goods to rise and fall. By reducing the amount you use, you’ll be giving your recipes a better chance at success.

Add more flour. After having sheets of cookies spread out and end up like one giant cookie instead of a dozen, I learned that the cookies needed more flour to balance the butter. Reducing the baking soda and adding flour helped tremendously.

Add more liquid. Recipes tend to require more liquid at high altitude because things dry out more quickly. For example, the French Onion Soup I made could have used some additional liquid so it was more soupy. Make sure that you use more of a liquid that is already required by the recipe. If it calls for chicken stock, add more chicken stock instead of water. Water will only cut the flavor of anything you add it to.

Use more extract and salt. If a recipe requires extract, use about one-half teaspoon more. If a recipe calls for one-half teaspoon salt, double it. The flavors need a bit more help to shine through at high altitude.

Grease your pans and liners. The first few times I made breads or muffins at high altitude, I couldn’t get them out of the pans and muffin liners. Things really stick at high altitude, so be sure to grease and flour your pans and spray your liners with some kind of cooking spray. Muffins are much more enjoyable when they come out of the wrapper, and breads are much more appealing when they don’t have to be pried out of a bread pan in chunks.

While I’m thankful for the education, I’m also relieved to not have to worry about making changes to every recipe anymore. For those of you who have struggled with baking at high altitude, I hope this helps. I’ll be taking the next two weeks off while I get situated, so look for my next post on March 30.