Fudgy brownies for a friend’s birthday

Fudgybrownies081014

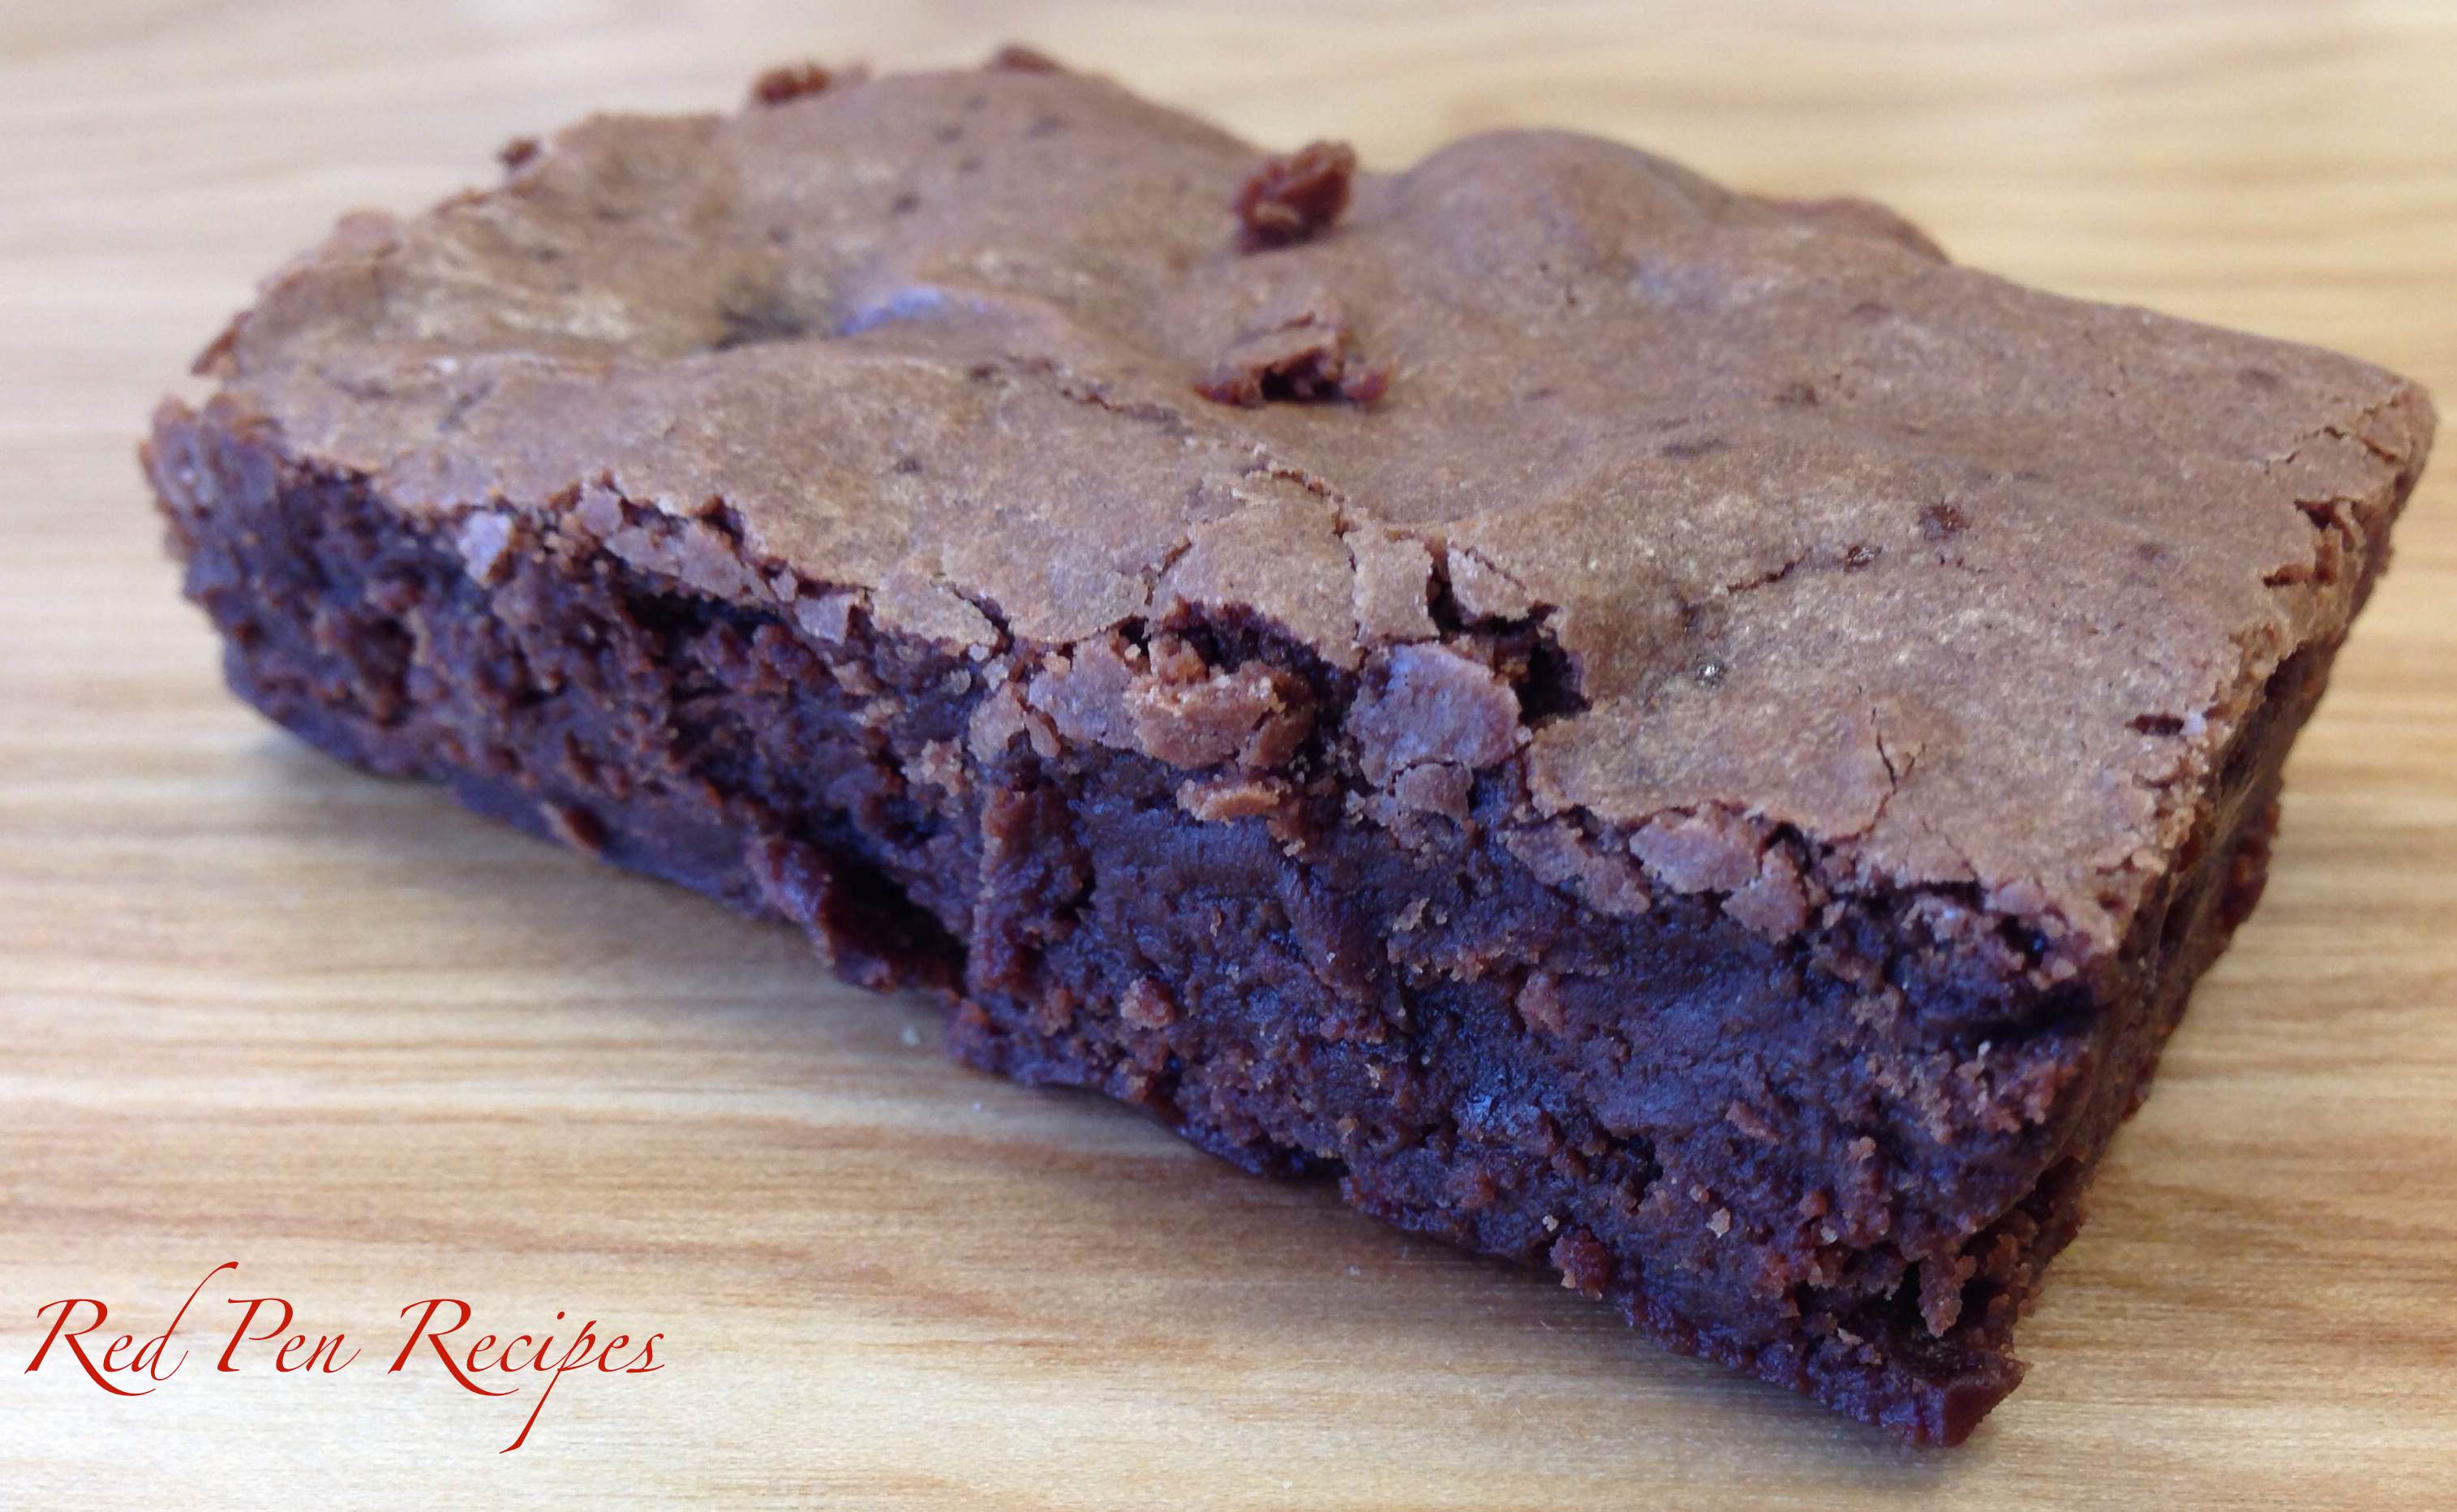
When it comes to brownies, most people have a preference: cakey or fudgy. My co-worker, whose birthday is today, prefers the latter. Lucky for her, I have a great recipe for people who like fudgy brownies. I found it in the Spring 2008 edition of Cook’s Illustrated Light Recipes and have used it ever since. It’s also a great recipe to use when you want to experiment with flavors in brownies — whether that means adding mint flavoring, caramel streaks, or using it for a base layer of a more decadent bar.

The article that ran with this low-fat recipe said that the fudgy texture can be attributed to the sour cream used in the recipe — which, unlike many brownie recipes, doesn’t use much butter. In a couple instances where I didn’t have sour cream, I substituted Greek yogurt, which added a slight tang to the finished product. But, it will do in a pinch.

These decadent brownies really hit the spot when you’re particular about the consistency. You can also easily add nuts or chocolate chips. I hope you enjoy them as much as the birthday girl did.

Ingredients
Nonstick cooking spray
3/4 cup unbleached all-purpose flour
1/3 cup Dutch-processed cocoa powder
1/2 teaspoon baking powder
1/4 teaspoon table salt
2 ounces bittersweet chocolate, chopped
2 tablespoons unsalted butter
2 tablespoons low-fat sour cream
1 tablespoon chocolate syrup (or light corn syrup)
2 teaspoons vanilla extract
1 large egg plus 1 large egg white
1 cup sugar

Adjust oven rack to middle position and heat oven to 350 degrees. Fold two 12-inch pieces of foil lengthwise so that each measures 7 inches wide. Fit one sheet into an 8-inch-square baking dish, pushing foil into corners and up sides of pan (overhang will help in removal of brownies). Repeat with second sheet, placing in pan perpendicular to first sheet. Coat foil with nonstick cooking spray.

Whisk flour, cocoa, baking powder, and salt together in a medium bowl. Melt chocolate and butter together in bowl set oven pan of simmering water or in microwave set to medium power. Cool 2 to 3 minutes, then whisk in sour cream, chocolate syrup, vanilla, egg, egg white, and sugar. Using rubber spatula, fold dry ingredients into chocolate mixture until combined.

Pour batter into pan, spread into corners, and level surface with spatula. Bake until slightly puffed and toothpick inserted in center comes out with sticky crumbs attached, about 25 minutes. Cool brownies completely in pan on wire rack, at least one hour. Remove brownies from pan using foil handles. Cut into 2-inch squares and serve.To keep brownies moist, do not cut until ready to serve.

Taking a classic cookie to new heights

chocolatechipcookies090113

As I’ve said before, one of the most challenging things about moving to high altitude is that I can no longer make many of my favorite recipes as I used to and have them turn out the same. Cakes collapse and cookies spread out. Unfortunately, it also happens with chocolate chip cookies. Until last week, I still hadn’t figured out the best recipe for those classic cookies. I tried about six different recipes, including one intended for high altitude, all of which spread out or didn’t rise as I’d hoped they would. I’d had enough of that. They’re simple chocolate chip cookies, after all. So, I decided to figure out how to do it myself.

South Lake Tahoe is around 6,230 feet in elevation. A few things I’ve learned about baking at high altitude are that you need to reduce most leaveners (baking powder, baking soda) by about a half teaspoon, the salt needs to be increased, and extracts can also be increased. Cake batters tend to need to be wetter than usual, and things like brownies and cookies need a bit more flour than usual to keep from collapsing or spreading out too much. Sometimes baking at a lower or higher temperature makes a big difference, too, and things don’t brown as well as they do at sea level.

I opened up the Joy of Cooking to see what its guidelines for regular chocolate chip cookies called for, then made a bunch of adjustments based on these lessons. I increased the flour quite a bit, and turned the oven down by 25 degrees F. I kept a close eye on these cookies during the baking process and, voila, I finally came up with a chocolate chip cookie that is functional at high altitude. Believe it or not, finally getting this basic recipe down feels like a big win at this point. This will be the recipe I use going forward.

Ingredients
1/2 cup (1 stick) butter
1/2 cup sugar
1/2 cup light brown sugar
1 egg
1/2 teaspoon salt
2 teaspoons Mexican vanilla extract
1 1/3 cups flour
1/4 teaspoon baking soda
1 cup chocolate chips

Preheat oven to 350 degrees F. Line two baking sheets with parchment paper.

In a large bowl, combine butter and sugars. Butter should be at room temperature if you’re stirring by hand, but can be cold if using a stand mixer. Add egg, salt and vanilla. Stir until combined. Add flour and baking soda and stir until incorporated. Add 1 cup chocolate chips and stir until evenly distributed.

Shape dough into 1-inch balls. Place 18 on each baking sheet. Bake each sheet individually for 11 minutes, or until edges of cookies are golden brown, for firm cookies; or bake for 8-9 minutes, until puffy, for softer cookies and let cool completely before serving. Makes about 40 small cookies.

Just add chocolate for a more decadent muffin

doublechocolatemuffins1

I was craving chocolate last week. When I started thinking about what I should bake, those giant chocolate muffins from Costco came to mind. Except I didn’t want a muffin the size of my hand. I wanted little noshes I could keep on hand for a little while. Because “The Joy of Cooking” has my go-to muffin recipe, I thought I’d see what I could find in the way of chocolate muffins.

Baked goods with melted chocolate can be difficult to make at high altitude. In my experience in the year I’ve been here, I’ve found such treats are one of the most susceptible to collapsing during the baking process. I’ve had the outside cook and crisp before the inside fully cooks. I’ve also had the centers cave in. It has been a learning process. doublechocolatemuffins2

I couldn’t have asked for these to turn out any better than they did. The batter had a slightly stiff quality to it, which ultimately seemed to help them turn out well. I’ve also learned to spray the paper muffin cups with cooking spray so the muffins won’t stick to them. These are a decadent muffin that can either be a rich breakfast or a dessert for later in the day. Next time I’m craving chocolate muffins, this will be my go-to. No more searching for a better recipe.

Ingredients
2 ounces unsweetened chocolate
1 3/4 cups all-purpose flour
1 teaspoon baking soda (use 1/2 teaspoon if at high altitude)
1/4 teaspoon salt
1 cup buttermilk
1 teaspoon vanilla
1/2 cup (1 stick) butter, softened
1 cup packed light brown sugar
1 egg
1 cup chocolate chips

Melt chocolate and let cool.

Whisk flour, baking soda and salt together in a separate bowl. Set aside.

Combine buttermilk and vanilla in a small bowl. Set aside.

Beat butter in a large bowl until creamy. Gradually add and beat in brown sugar until lightened in color and texture, 4 to 5 minutes. Add egg and beat until mixed. Beat in the chocolate just until blended. Add the flour mixture in three parts, alternating with the buttermilk mixture in two parts, beating on low speed or stirring with a rubber spatula until smooth and scraping the sides of the bowl as necessary.

Stir in chocolate chips. Divide the batter among the muffin cups. Bake until a toothpick inserted in 1 or 2 of the muffins comes out clean, 25 to 30 minutes. Let cool for 2 to 3 minutes in the pan before removing to cool completely on a rack.

Playing with pumpkin

pumpkinbread1

Fall is the season for warm flavors. At this time of year, I find myself using cinnamon, nutmeg, apples and pumpkin more often than any other season.

Pumpkin is one of my favorite ingredients to play with. It can be used in sweet dishes such as pies and muffins or turned into something savory such as pumpkin soup. Since I haven’t had a lot of time to bake lately, I went with another quick bread this week. Pumpkin-chocolate chip bread, to be exact.

The original recipe made two loaves, but I only had enough pumpkin for one. Just as I was about to put it in the oven, I remembered I had a small amount of coconut left that needed to be used, so I threw it on top of the batter in the pan. I liked the texture it gave the top.

If you let this bread cool for the time the recipe recommends, you’ll end up with a moist loaf that is easy to cut through. I’ve found that cutting certain breads right after they come out of the oven can cause them to break apart. Let this one cool. It’s worth the wait.

Ingredients
1 1/2 cups all-purpose flour
1 teaspoon ground cinnamon
1/2 teaspoon salt
1/2 teaspoon baking soda
2 eggs
1 cup sugar
1 cup canned pumpkin
3/4 cup canola oil
3/4 cup semisweet or bittersweet chocolate chips
(Optional: 1 tablespoon coconut, brown sugar or oats)

Preheat oven to 350 degrees. Grease a loaf pan.

Combine flour, cinnamon, salt and baking soda in a large bowl. In another bowl, beat the eggs, sugar, pumpkin and oil. Stir into dry ingredients until just moistened. Fold in chocolate chips.

Pour into loaf pan. Top with coconut, brown sugar or oats. Bake for 60-70 minutes, or until a toothpick inserted near the center comes out clean. Cool for 10 minutes before removing from pan and placing on wire rack.