Vanilla ice cream ready for scooping

1Vanillaicecream072813

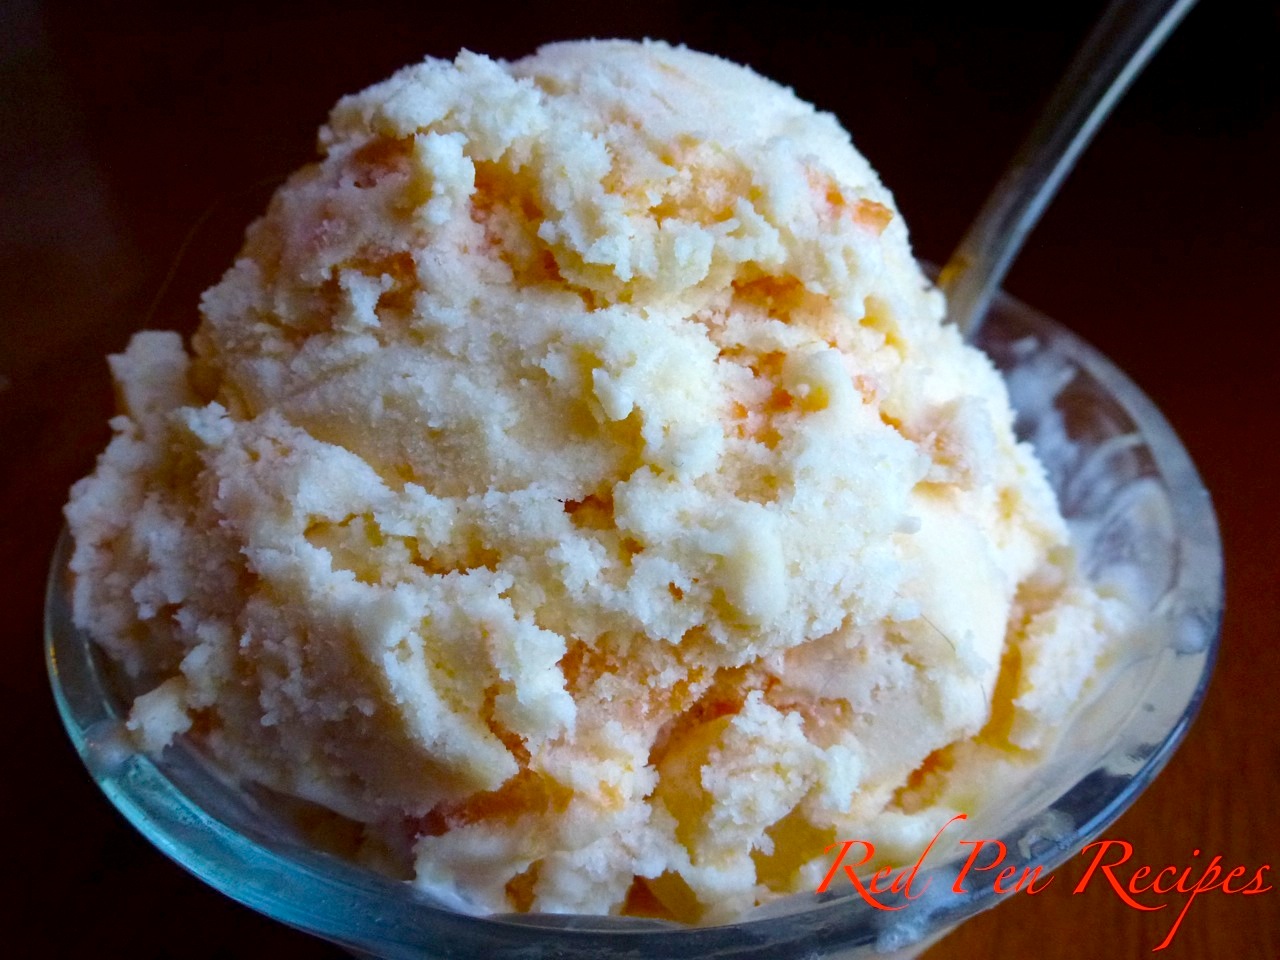
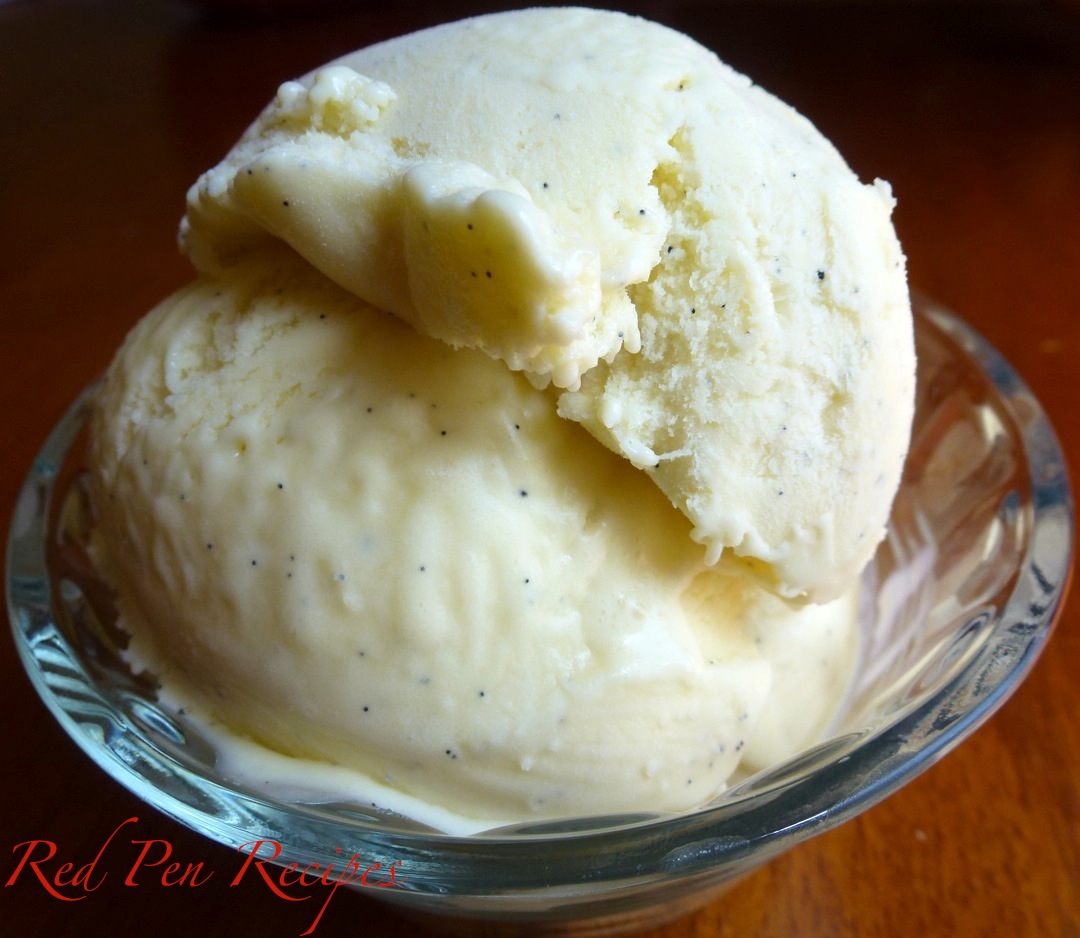
I have finally made scoopable ice cream. Those of you who read my blog regularly know this is something I’ve been struggling with for a couple months now, so I was thrilled when the latest edition of Bon Appétit showed up with ice cream on the cover.

One of my best friends from college randomly decided to visit this weekend. I hadn’t seen her in about five years, so I was really looking forward to the visit. Which also meant I was thinking about what I could have for her when she arrived. I decided to give a new ice cream recipe a chance.

When tackling a new kind of dessert, I like to find a great base recipe before I really start experimenting with flavors. It turns out that can be a tricky task when it comes to ice cream. But, after trying about five different recipes, Bon Appétit’s True Vanilla Ice Cream was the winner.

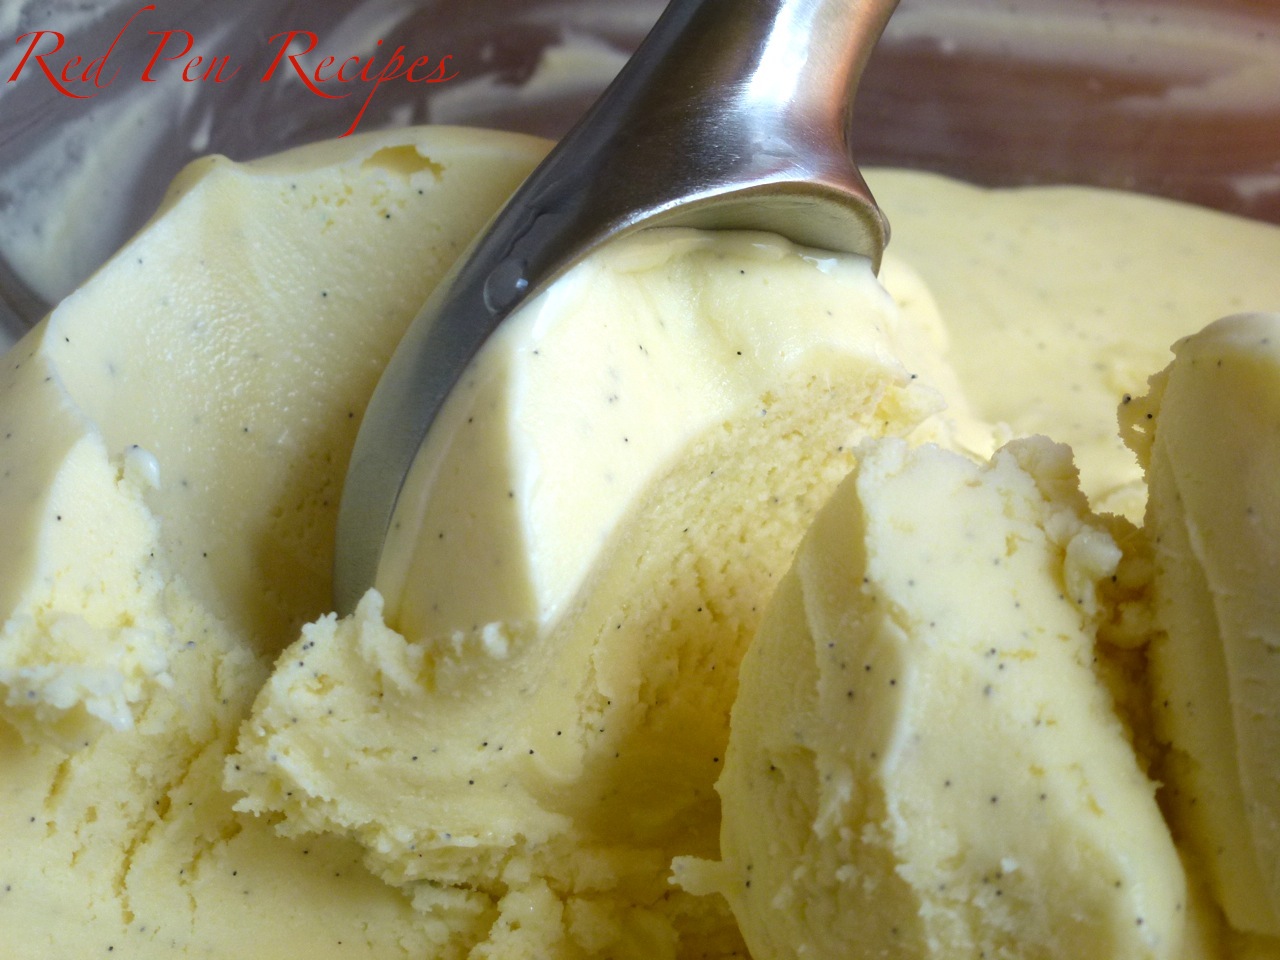
I have to admit that when I finished the custard mixture, I was a little nervous about how it would turn out. The custard was thinner than the custard other recipes produced. But I think that’s why this recipes works. Instead of getting a dense frozen custard after putting it through the ice cream maker, you get a nice, flavorful — and, most importantly, scoopable — ice cream.

I’m really happy with the way this ice cream turned out. Now I feel confident that I can start trying more flavors.

2Vanillaicecream072813Ingredients
1 1/2 cups heavy cream
1 cup whole milk
1/2 cup sugar
Pinch of kosher salt
1 vanilla bean or 1 teaspoon vanilla extract
5 egg yolks

Combine heavy cream, whole milk, 1/4 cup sugar and salt in a medium saucepan. Split vanilla bean lengthwise and scrape in seeds; add pod (or use 1 teaspoon vanilla extract). Bring mixture just to a simmer, stirring to dissolve sugar. Remove from heat. If using vanilla bean, cover; let sit 30 minutes.

Whisk 5 large egg yolks and 1/4 cup sugar in a medium bowl until pale, about 2 minutes. Gradually whisk in 1/2 cup warm cream mixture. Whisk yolk mixture into remaining cream mixture. Cook over medium heat, stirring constantly, until thick enough to coat a wooden spoon, 2 to 3 minutes.

Strain custard into a medium bowl set over a bowl of ice water; let cool, stirring occasionally. At this point, you can transfer the mixture to a bowl and cover it by putting plastic wrap directly on the top of the custard. It can cool overnight in the fridge and be processed in the morning.

Process custard in an ice cream maker according to manufacturer’s instructions. Transfer to an airtight container; cover. Freeze until firm, at least 4 hours and up to 1 week.

Summer stone fruit serves as a sweet topping

Apricotmuffins1

Apricots are in season, and I love to use them in baked goods. I purchased a few ambercots at the farmers market a few weeks ago. Though they were delicious raw, I couldn’t eat them quickly enough, so I needed to find a recipe to use for the three I had left. Lucky for me, a recent edition of Bon Appétit contained a recipe for little apricot cakes.

As with most cakes, these proved to be a challenge at high altitude. Adding a couple tablespoons of flour usually helps keep cakes from sinking but, in this case, it made them more dense and muffin-like instead of being light like cakes. Next time I make these, I’ll stick to the original flour measurement and beat it for a shorter amount of time so the batter isn’t as stiff. Apricotmuffins2

I enjoyed the sweetness and slight tart flavor of the apricots on top. They provided a nice contrast to the lemony cake beneath them. The raw sugar sprinkled on top created a nice, sugary crust once they had cooled. They’re a nice summertime treat.

Ingredients
Nonstick vegetable oil spray
1 cup all-purpose flour
1 1/2 teaspoons baking powder (use 1 teaspoon if at high altitude)
1/4 teaspoon kosher salt
6 tablespoons (3/4 stick) unsalted butter, room temperature
1/3 cup sugar
1 large egg
1 teaspoon finely grated lemon zest
1 teaspoon vanilla extract
1/3 cup whole milk
2 apricots, halved, pitted, cut into 1/4-inch wedges
2 tablespoons raw sugar

Preheat oven to 350 degrees F. Coat muffin cups with nonstick spray. Whisk flour, baking powder and salt in a medium bowl.

Using an electric mixer, beat butter and sugar in another medium bowl, occasionally scraping down sides of bowl, until light and fluffy, about 2 minutes. Add egg, lemon zest and vanilla and beat until combined.

With mixer on low speed, add dry ingredients in 3 additions alternately with milk in 2 additions, beginning and ending with dry ingredients. Divide batter among muffin cups (cups will be only 1/3 full) and smooth tops. Top with apricot slices and sprinkle with raw sugar.

Bake until cakes are golden and a tester inserted into the centers comes out clean, 20–25 minutes. Transfer pan to a wire rack; let pan cool 5 minutes. Transfer cakes to rack and let cool completely.

Getting the hang of homemade ice cream

ApricotAlmondIceCream060913

When I received an ice cream maker last month, I had the grand idea that I would make homemade ice cream on a regular basis. I thought it would be a cinch.

But it hasn’t been. Finding a good ice cream recipe has been more difficult than I anticipated. While the simpler apricot-almond recipe I first tried turned out pretty well, it wasn’t the creamy, scoopable kind of ice cream I had in mind. Since then, I have been on the hunt for something with that store-bought texture.

As it turns out, that kind of ice cream is made by first making a custard, then processing it with the ice cream maker. I tried the chocolate ice cream recipe from the manual, but it ended up being much thicker than what I was looking for. It ended up being more like frozen custard. After looking at several other recipes, I decided to see what Joy had. It had a few pages worth of recipes, but I settled on strawberry frozen yogurt to see how it would turn out. So far, it is my favorite recipe of the ones I’ve tried. It had a rich strawberry flavor, vibrant color and good texture right after making it, which I attribute to the gelatin used in the recipe. However, the next day it was stiff, so I had to let it sit for about 20 minutes before scooping. It’s still not quite the consistency I’m looking for, but the flavor is good.

So, I’m still looking for a good ice cream recipe. If you have one you’ve had success with, please share it!

Ingredients
2 cups plain low-fat yogurt
1 pint strawberries, hulled and sliced
1/3 cup sugar, to taste
1 teaspoon vanilla
pinch of salt
1 envelope (2 1/4 teaspoons) unflavored gelatin
1 cup soy milk or whole milk
1/4 cup plus 2 tablespoons sugar

Spoon yogurt into a fine-mesh sieve set over a large measuring cup or bowl. Refrigerate until 1/2 cup liquid has drained off, about 2 hours, then scrape the yogurt into a medium bowl. Discard the liquid.

Place strawberries in a food processor and pulse a few times, or until the fruit is crushed. Do not puree. A potato masher can also be used for this step. Add sugar, vanilla and salt. Cover and let stand at room temperature for one hour.

Sprinkle gelatin over 1/4 cup milk. let stand for 10 minutes to soften.

Combine 3/4 cup milk and 1/4 cup plus 2 tablespoons sugar in a medium saucepan. Bring to a simmer, stirring occasionally to dissolve hte sugar. Remove from the heat and let cool for five minutes, then add the gelatin mixture, stirring until it dissolves completely. Let cool to room temperature.

Gently whisk the milk and strawberry mixtures into the drained yogurt. Refrigerate until cold. Pour into an ice cream maker and freeze as directed. Mine was done after about 30 minutes.

A recipe to ‘wow’ your guests

redvelvetcheesecakebrownies

Red Pen Recipes turned 1 year old on Friday. This time last year I was nervous about whether I’d have enough time to try new recipes often enough to write a new post each week. I’m happy to say this blog has kept me doing what I hoped it would: writing for pleasure and keeping me trying new things in the kitchen.

Of the 52 recipes I wrote about in the past year, the Rum Raisin Rice Pudding was one of my favorite new discoveries, and homemade applesauce was a close second. They’re both Barefoot Contessa recipes I hadn’t tried before.

To celebrate the one-year mark, I decided to reformat my blog. I chose this format for its cleaner look and to showcase the photos a little more. I hope you enjoy the new look.

While Friday marked the first anniversary of Red Pen Recipes, it also marked the final day for one of my staff members. One of my reporters accepted a new job in Santa Fe, N.M., so I wanted to bake something special for her before she left. I flipped through some of my cookbooks and considered a few different items before I remembered the Red Velvet Cheesecake Brownies recipe a friend gave me a few years ago.

This recipe is something I save for special occasions, when I really want to “wow” someone. It combines three desserts a lot of people enjoy, and has yet to disappoint. Cheesecake, red velvet cake and brownies can each require a rather involved process, but this three-in-one treat is pretty simple to make — you just have to use three bowls to combine different ingredients before putting them together.

Thanks for reading. I look forward to bringing you more recipes in the coming year.

Ingredients
1/2 cup unsalted butter
2 ounces dark chocolate, coarsely chopped
1 cup sugar
2 large eggs
1 teaspoon vanilla extract
1 1/2 teaspoon red food coloring (or six drops red food gel)
2/3 cup all purpose flour (use 1 cup at high altitude)
1/4 teaspoon salt (use 1/2 at high altitude)
8 ounces cream cheese, room temperature
1/3 cup sugar
1 large egg
1/2 tsp vanilla extract (use 1 teaspoon at high altitude)

Preheat oven to 350 degrees F. Butter the bottom and sides of a 8-inch square baking pan. Put a long piece of parchment paper in the bottom of the pan, letting the parchment extend up two sides of the pan and overhang slightly on both ends. (This will make it easy to remove the bars from the pan after they have baked.) Butter the parchment.


In a small, heatproof bowl, melt butter and chocolate together in the microwave. Put it in 3 seconds at a time until soft enough to stir. Stir until combined and very smooth. Set aside to cool for a few minutes.


In a large bowl, whisk together sugar, eggs, vanilla extract and red food coloring. Add chocolate mixture and stir until smooth. Add flour and salt and stir until just combined and no streaks of dry ingredients remain. Pour into prepared pan and spread into an even layer.


To prepare cheesecake mixture, beat cream cheese, sugar, egg and vanilla extract in a medium bowl until smooth. Distribute the cheesecake mixture in eight dollops over batter in the pan. Swirl in with a knife or spatula.


Bake for 35-40 minutes (it could take up between 45 and 50 minutes at high altitude), until brownies and cheesecake are set. A knife inserted into the cheesecake mixture should come out clean and the edges will be lightly browned.


Let cool completely in pan on a cooling rack before lifting out the parchment paper to remove the brownies.

Cooling down with homemade ice cream

ApricotAlmondIceCream060913

The recent hot weather in Tahoe has made me reluctant to turn on my oven. When temperatures hover near 90 degrees, I don’t want to do much of anything.

My best friend recently gave me his old Cuisinart Automatic Frozen Yogurt-Ice Cream & Sorbet Maker, so last night I decided to turn it on and see how it went. I looked up the manual for the model online and downloaded it to figure out how the machine worked. Included in the manual were some basic ice cream recipes.

When I first decided to make the ice cream, I thought starting simple with a vanilla bean ice cream would be the way to go. Then I discovered I had some apricots that were just about to go bad. I also had almonds in my baking supplies cupboard. I used the manual’s recipe for strawberry ice cream as a guideline and improvised using the ingredients I had.

I didn’t have enough eggs to make any of the premium ice cream recipes, so the texture was more like that of frozen yogurt. The flavor was perfect. Next time I’ll make the higher-quality recipe for the firmer ice cream texture.

I stored some of my ice cream in plastic tupperware and turned the rest into popsicles. I think I might prefer this as a popsicle — it tasted like an apricot-almond creamsicle. While the tupperware is not ideal, it helps prevent freezer burn for a little while. I may invest in an ice cream-specific freezer container, because this definitely won’t be my last batch of homemade ice cream.

2ApricotAlmondIceCreamIngredients
6 ripe, soft apricots, mashed
3 tablespoons freshly squeezed lemon juice
1 cup sugar, divided
2 1/4 cups soy milk or whole milk
3/4 cup heavy cream
1/2 cup toasted almonds, chopped finely
2 drops amaretto oil
1/4 teaspoon cognac

In a small bowl, combine the apricots with the lemon juice and 1/3 cup of the sugar; stir gently and allow to sit for 20 minutes.

Meanwhile, in a medium bowl, use a whisk to combine the milk and granulated sugar until the sugar is dissolved. Stir in the heavy cream, amaretto oil and cognac, plus any accumulated juices from the apricot mixture.

Stir the almonds into the rest of the apricot mixture and set aside.

Turn the machine on, pour mixture into freezer bowl through ingredient spout and let mix until thickened, about 25-30 minutes. Add the apricot-almond mixture during the last 5 minutes of freezing.