Playing with pumpkin

pumpkinbread1

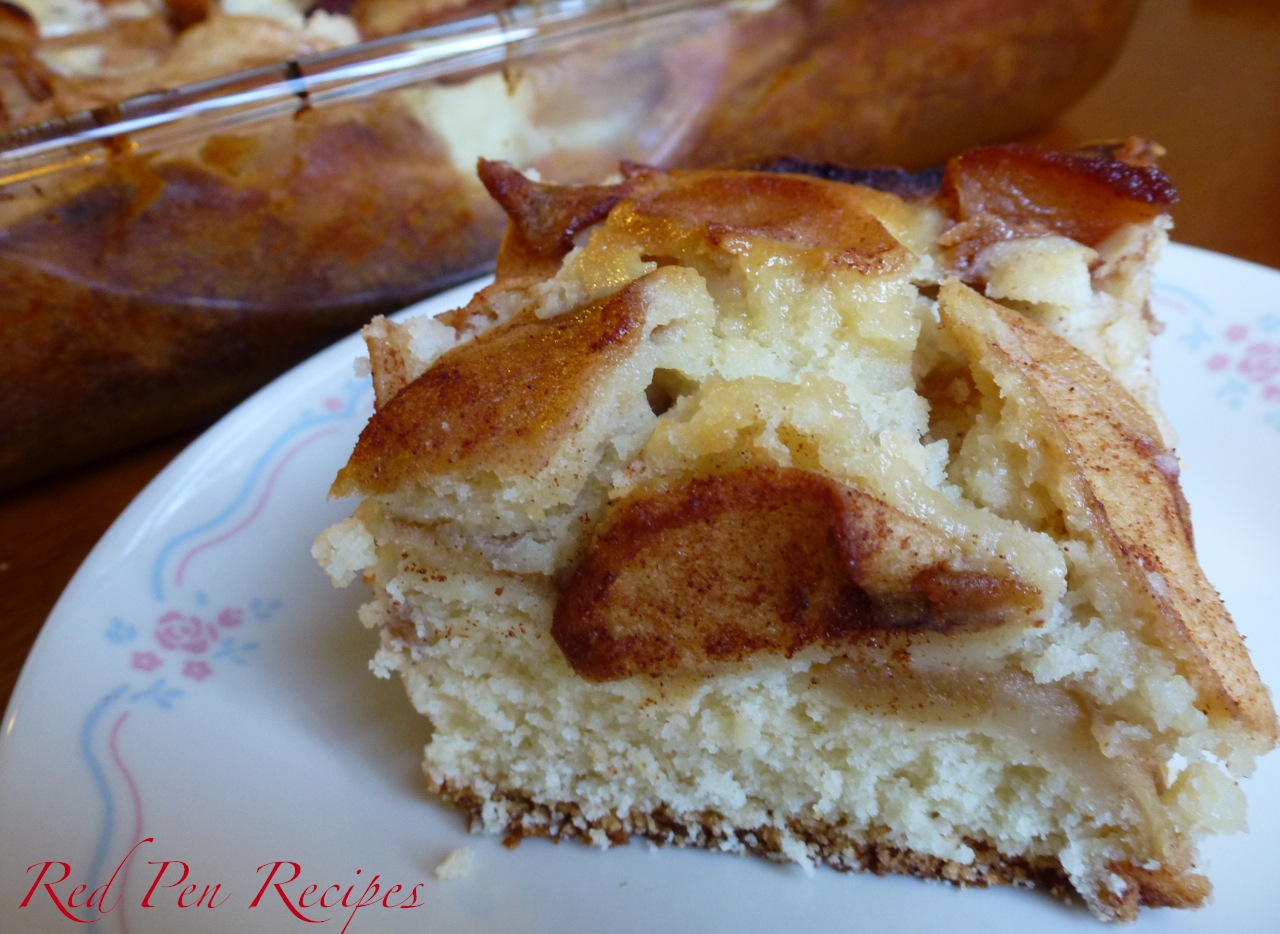
Fall is the season for warm flavors. At this time of year, I find myself using cinnamon, nutmeg, apples and pumpkin more often than any other season.

Pumpkin is one of my favorite ingredients to play with. It can be used in sweet dishes such as pies and muffins or turned into something savory such as pumpkin soup. Since I haven’t had a lot of time to bake lately, I went with another quick bread this week. Pumpkin-chocolate chip bread, to be exact.

The original recipe made two loaves, but I only had enough pumpkin for one. Just as I was about to put it in the oven, I remembered I had a small amount of coconut left that needed to be used, so I threw it on top of the batter in the pan. I liked the texture it gave the top.

If you let this bread cool for the time the recipe recommends, you’ll end up with a moist loaf that is easy to cut through. I’ve found that cutting certain breads right after they come out of the oven can cause them to break apart. Let this one cool. It’s worth the wait.

Ingredients
1 1/2 cups all-purpose flour
1 teaspoon ground cinnamon
1/2 teaspoon salt
1/2 teaspoon baking soda
2 eggs
1 cup sugar
1 cup canned pumpkin
3/4 cup canola oil
3/4 cup semisweet or bittersweet chocolate chips
(Optional: 1 tablespoon coconut, brown sugar or oats)

Preheat oven to 350 degrees. Grease a loaf pan.

Combine flour, cinnamon, salt and baking soda in a large bowl. In another bowl, beat the eggs, sugar, pumpkin and oil. Stir into dry ingredients until just moistened. Fold in chocolate chips.

Pour into loaf pan. Top with coconut, brown sugar or oats. Bake for 60-70 minutes, or until a toothpick inserted near the center comes out clean. Cool for 10 minutes before removing from pan and placing on wire rack.

A versatile dish for any time of day

The best thing about quiche is that you can eat it at any time of day, at any temperature and with anything in it, as long as you have a good base recipe.

For those of you who aren’t familiar with quiche, it’s a simple egg dish baked in a crust. It usually contains cheese, vegetables and meat, but is also simple enough to improvise and include only what you want. The base recipe I use is from Joy. I know I’ve posted a few recipes from the book so far, but there’s a reason it’s an American classic. I use Joy’s Pat-in-the-Pan Butter Dough for the crust and the Cheese Quiche recipe for the filling.

Gouda is my favorite cheese to use and I like to add red bell peppers, crispy prosciutto and chives to the filling. I’ve found that sauteing the vegetables and herbs ahead of time helps them cook better. If you choose to use spinach, make sure you cook it before throwing it in the filling. The general rule of thumb is not to leave the pieces of chopped vegetables too thick and not to overload the quiche — don’t use more than about 1 1/2 cups total of additions. If you use more, there may not be enough egg mixture to hold it together.

Once the quiche is done, you’ve got a meal that you can eat hot or cold at any time. It’s a good standby to have in the fridge, whether you’re expecting company or just know you won’t have time to cook during the next couple days.

Crust
1 1/2 cups all-purpose flour
1/2 teaspoon salt
1/2 cup (1 stick) butter, cut into eight pieces
2 to 3 tablespoons heavy cream
1 beaten egg yolk

Preheat oven to 425 degrees. Stir flour and salt together. With your hands or the back of a fork, mash butter in until mixture resembles coarse crumbs. Drizzle heavy cream over the top of the crust and mix in until the crumbs look damp and hold together. Pat dough into a pie dish or tart pan. Prick crust with a fork so it won’t bubble up while cooking. Bake crust for 18-22 minutes or until golden brown. While the crust is baking, prepare the filling.

After the crust comes out of the oven, turn the heat down to 375 degrees and brush the warm crust with the egg yolk.

Filling
1 1/2 cups shredded cheese (Gouda, cheddar, Monterey Jack and Swiss work well — you can use more than one kind if you’d like)
1 cup heavy cream
3 eggs
1/2 small onion, grated
1/8 teaspoon grated or ground nutmeg
1/2 teaspoon salt
1/4 teaspoon white or black pepper
(1 1/2 cups total of any chopped vegetables, meat or other additions)

Sprinkle the cheese onto the crust. Whisk the rest of the ingredients together in a medium bowl until no streaks of egg white remain. Pour the mixture evenly over the cheese in the pastry shell. Bake until the filling is puffed around the sides and a knife inserted in the center comes out clean, 30 to 40 minutes. Let stand 10 minutes before slicing.

A little R&R for the weekend

ricepudding

There are few cooking shows I watch and think “I could do that,” but Ina Garten, the Barefoot Contessa, keeps her approach to food simple and elegant. It makes it seem doable for at-home cooks like me.

On a recent episode, she made a rum raisin rice pudding. In her recipe, Garten uses basmati rice and half-and-half, but all I had in my cupboard was arborio that I had purchased with the intention of making white truffle risotto. Arborio is a short-grain Italian rice that is used for creamy rice dishes because of its absorbency. Because it’s a short-grain rice, I only needed four cups of milk instead of the five cups her recipe used. I also opted for vanilla soy milk since I don’t drink regular milk, and it worked well.

The last time I used rum in a recipe the flavor was too strong. I worried about it with this pudding and, after tasting the finished product while it was still warm, felt like I had used too much. However, after refrigerating it overnight, the flavors came together and the rum wasn’t as pronounced. If I make this again and plan to eat it warm, I won’t toss in the rum that doesn’t get soaked up by the raisins because it would overpower the other flavors.

Sometimes it’s nice to have something sweet and simple in the fridge. This rice pudding definitely fits the bill.

Ingredients
3/4 cup raisins
2 tablespoons dark rum
3/4 cup arborio rice
1/2 teaspoon salt
4 cups soy milk, whole milk or half-and-half
1/2 cup sugar
1 large egg, beaten
1 1/2 teaspoons pure vanilla extract

In a small bowl, combine the raisins and rum. Set aside.

Combine the rice and salt with 1 1/2 cups water in a medium heavy-bottomed stainless steel saucepan. Bring it to a boil, stir once, and simmer, covered, on the lowest heat for 8 to 9 minutes, until most of the water is absorbed. (If your stove is very hot, pull the pan halfway off the burner.)

Stir in 4 cups of soy milk and sugar and bring to a boil. Simmer uncovered for 25 minutes, until the rice is very soft. Stir often, particularly toward the end. Slowly stir in the beaten egg and continue to cook for 1 minute. Off the heat, add the vanilla and the raisins with any remaining rum. Stir well. Pour into a bowl, and place a piece of plastic wrap directly on top of the pudding to prevent a skin from forming. Serve warm or chilled.

Fall baking is a piece of cake

ACcoffeecake

As lower temperatures enter the weather forecast, my thoughts have turned to fall baking — apples, pumpkin, soups and comfort foods.

I joined Pinterest a couple months ago and have built up quite the board of recipes I want to try. Last week I saw a pin for this apple coffee cake. I added it to my “Recipes to try” board and actually got around to it. The recipe calls for two layers of apples, one in the middle and one on top. The apples in the middle stayed moist and provided a nice fresh layer to break up what would otherwise just be a piece of moist cake. The apples on top got a bit dry in the baking process so, if you want them to stay moist, you could save some of the batter for a third layer on top of the second layer of apples.

Though it smelled delicious while it was baking, I wasn’t crazy about this coffee cake at first; but it grew on me the next day after reheating a piece for breakfast. The flavors had time to come together. The cake had a nice crumb, the apples had just the right balance of sweetness and tartness and the cinnamon added a welcome dose of spice. It wasn’t overpowering; it was light enough without being devoid of flavor.

I took the coffee cake to work the next day and my coworkers devoured it. I don’t know if anything I’ve bought to work has received such rave reviews. It must have hit the spot for them.

Ingredients
5 Granny Smith apples, peeled and sliced
1/3 cup granulated sugar
1 tablespoon of cinnamon
3 cups all-purpose flour
2 cups granulated sugar
3 teaspoons baking powder
2 teaspoons vanilla
4 eggs
1/4 teaspoon salt
1/2 cup orange juice
1/2 cup apple sauce
1/2 cup vegetable oil

Preheat oven at 350 degrees and grease a 9-inch-by-13-inch baking dish. In a medium bowl, toss sliced apples, 1/3 cup of sugar, and cinnamon in a bowl and set aside. If you’re at high altitude, cook the apples, cinnamon and sugar in a pan over medium heat until the apples are soft. I’ve found that fruit doesn’t bake the same and often comes out too crisp in the final product, so cooking them beforehand ensures that they’ll be the consistency you prefer. Remember to use half the amount of baking powder, too.

In a mixing bowl combine flour, 2 cups sugar, baking powder, vanilla, eggs, salt, orange juice, apple sauce and vegetable oil. Mix well. Pour half the batter into baking dish and arrange apple slices on top. Pour and spread the rest of the batter on top of the apples. Bake for 60 minutes or until done. Cut coffee cake into squares and serve warm.

Enjoy this recipe? Follow me on Facebook.

One last hurrah for summer

Fudgesicles have never been something I’ve reached for when picking out a frozen treat at the grocery store. I usually go for Cherry Garcia or Rocky Road. But, when it comes to trying to make new things, I don’t discriminate.

When a friend on Facebook posted something about making fudge pops over the summer, I thought that sounded like a fun thing to try — especially after the success of my coconut-rum ice cream. I was feeling confident. The next time I was at the store, I bought a popsicle mold much like the one my mom had when I was a kid, except all the handles of hers were yellow. I tried the first recipe for fudge pops and it came out of the mold fine, but had a dry, almost chalky, consistency to it, and the flavor wasn’t quite where I wanted it to be.

As I’ve said before, I don’t give up. So I tried another recipe. And another. I tried three different recipes, a combination of the three recipes and a modified version of the one I started with. Apparently the fifth time’s a charm. I later figured out the dryness in the first recipe was caused by the cocoa powder. The second recipe called for sweetened condensed milk and it melted quickly while being taken out of the mold. It was also too sweet for my taste. The third recipe also didn’t come out of the mold very well. I cooked the ingredients to pudding consistency and it was overcooked. In fact, I ended up eating the popsicles out of the mold because they were stuck. The flavor was great, but popsicles have to, well, pop. On my fourth attempt, I tried making a variation by combining the ingredients to achieve the flavor I wanted, as well as those I had the most success with. Once again, they wouldn’t come out of the mold. The final time, I went back to the first recipe because it came out of the mold the best. I got rid of the cocoa powder and made a couple substitutions of my own. While the recipe is similar to a pudding recipe, take the mixture off the burner just before it gets as thick as you would cook pudding. These were my winners. After a page of crossed-out ingredients and notes in my kitchen notebook, I was finally able to put this one down in ink and enjoy the result out of the mold, just as proper fudgesicles should be eaten.

Ingredients
Makes 4 standard-size popsicles
2 heaping tablespoons semisweet chocolate chips or chopped semisweet chocolate
1/3 cup sugar
1 tablespoon arrowroot or corn starch
1 1/4 cups soy milk or whole milk
Pinch of salt
1/2 teaspoon Mexican vanilla extract
3/4 tablespoon unsalted butter

In the bottom of a medium saucepan over very low heat, gently melt the chocolate chips, stirring constantly until smooth. Stir in sugar, cornstarch, cocoa powder, milk and salt and raise heat to medium. Cook mixture, stirring frequently until it thickens, about 5 to 10 minutes. Remove from heat, add vanilla and butter and stir until combined.

Set aside to cool slightly then pour into popsicle molds and freeze overnight. To take them out of the mold, run the mold under hot water for about 10 seconds.