Hummus meatballs

Meatballs

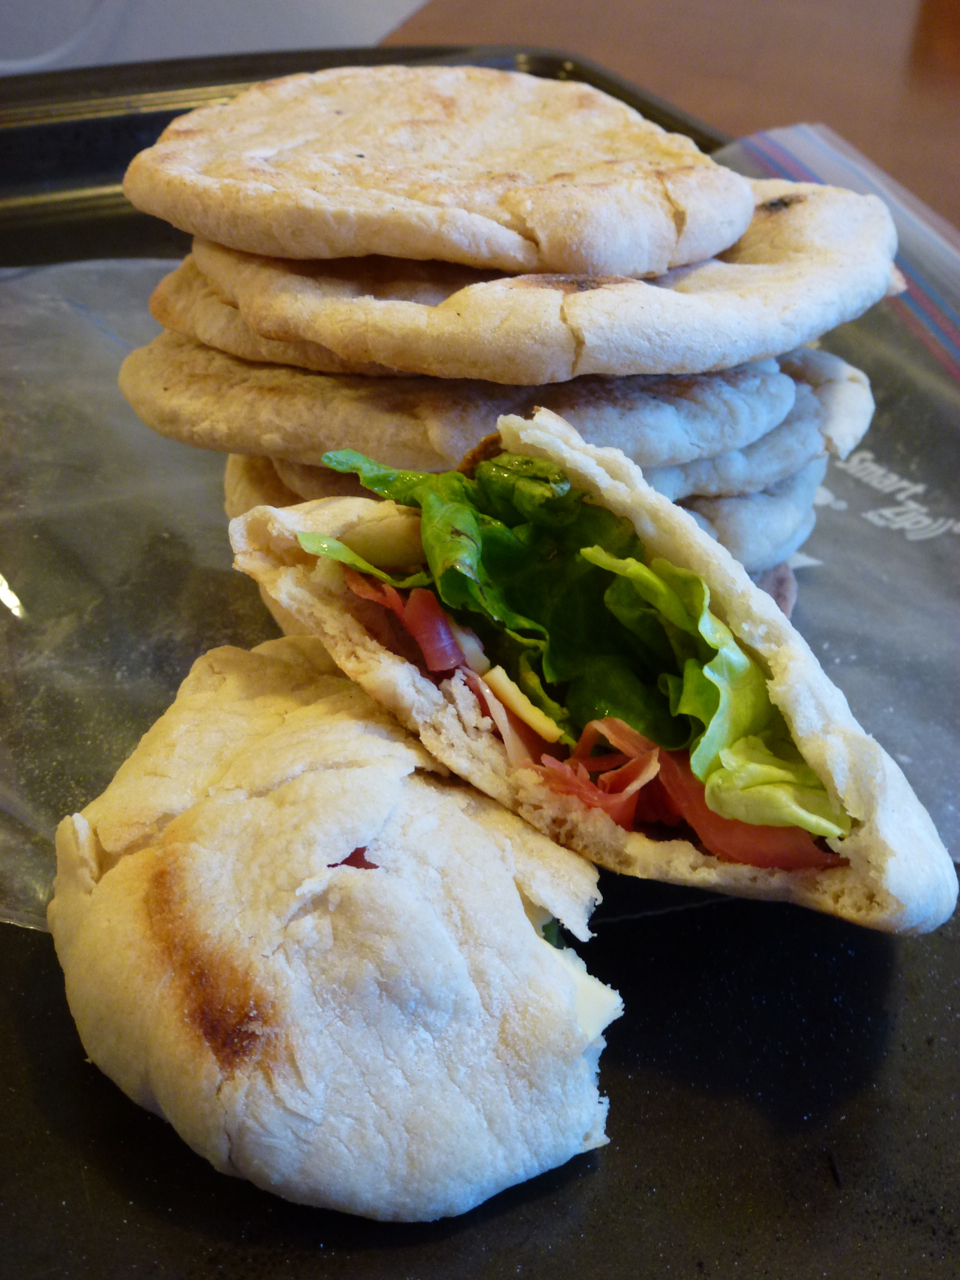
As a single person, it’s easy to fall into the trap of heating up microwavable meals on a regular basis. Lately, I’ve been avoiding that by broadening my cooking repertoire and finding recipes that are simple enough to make when I get home from a day of deadlines. This week, I needed to make something that would work with the pita I made last weekend. I saw a recipe for Hummus Meatballs in Associated Press Food Editor J.M. Hirsch’s “High Flavor, Low Labor” cookbook — which is loaded with great recipes that are easy to make when you don’t have a lot of time — and decided they would fit the bill.

A few years ago, when I first started teaching myself how to cook, I’d buy every ingredient listed in the recipe I wanted to try. That habit left my cabinets littered with partially full jars of curry paste and specialty spices and ingredients for which I otherwise had no use. I’ve since abandoned that tendency and tried to use what’s already in my kitchen.

For this recipe, I didn’t have a red onion, parsley, cilantro or cumin. I used basil-flavored hummus, which I felt incorporated the herb flavor I might otherwise have missed. I only had white pearl onions, so I chopped a handful of those and substituted them for the red onion. As long as you have the hummus, bread and meat, you can substitute whatever you’d like in this recipe.

I cooked the meatballs for 20 minutes and they ended up being tender and slightly charred on the bottom, which actually tasted pretty good. Next time I make these, I’ll likely add some chopped sun-dried tomatoes because I felt the end result was a little bland.

Ingredients
3 slices whole-wheat bread
1/2 small red onion
1/4 cup packed fresh flat-leaf parsley
1/4 cup packed fresh cilantro
1 teaspoon ground cumin
1/2 teaspoon cinnamon
1/4 teaspoon ground allspice
1/2 teaspoon smoked paprika
1/2 cup prepared or homemade hummus
1 egg, beaten
1 teaspoon salt
1/2 teaspoon ground black pepper
1 pound lean ground beef (ground turkey could be substituted)

Heat the oven to 400 degrees. Coat a rimmed baking sheet with cooking spray

In a food processor, pulse the bread until it is finely ground. Add the onion and pulse until it is finely chopped and blended with the bread.

Add the parsley, cilantro, cumin, cinnamon, allspice and paprika. Pulse several times, or until thoroughly blended. Add the hummus, egg, salt and pepper, then pulse until blended.

Transfer the mixture to a large bowl. Add the beef, then mix well.

Use your hands to form the mixture into balls by the tablespoonful. Arrange them on the prepared baking sheet, Spritz the meatballs with cooking spray.

Bake for 20 to 25 minutes, or until cooked through.

Makes about three dozen meatballs.

Pita made from scratch

Pita

Breads have always been difficult for me. I’ve had them turn out too dry, not fully cooked in the center or fail to rise in the dough stage on many occasions. I tend to avoid making them, usually because of the long process, but sometimes because I’ve felt discouraged.

A few weeks ago, while grocery shopping, I was in the bread aisle and about to buy some pita bread when I thought, “Maybe I should try to make it instead.” Today, I finally got around to that challenge.

I found this recipe through a Google search, and it seemed simple enough for a first-time pita baker.

My apartment tends to be cold, so, when I got to the three-hour rising stage, I covered the bowl in plastic wrap and set it in the sun. That did the trick.

The recipe says to divide the dough into 10-12 pieces. I did 12 and baked them in three batches of four to give them enough space on the baking pan. If I were to make these again, I would only do 10 pieces because the final rounds were smaller than I wanted them to be. If you’re planning to stuff these for a meal, you’ll want them to be bigger.

I live in the mountains, so there are altitude challenges as well. I follow each recipe the first time I make it in order to figure out what adjustments I’ll need to make in the future. In the case of this recipe, I noticed the first batch of pita was cooked a little harder than I wanted it to be, so I reduced the first cooking time (four minutes) to three minutes for the second batch. The second batch came out with more of a golden color. I was initially worried about how stiff the pita appeared when I took it out of the oven but, after I immediately put them in the bags, they steamed themselves to a softer consistency. I let them sit in the bags for about an hour before I dug in. The end result was still a little stiff around the edges, but I was able to open them and stuff them.

Not bad for my first attempt.

Ingredients
1 package of yeast, or quick-rising yeast
1/2 cup warm water
3 cups all-purpose flour
1 1/4 teaspoon salt
1 teaspoon granulated sugar
1 cup lukewarm water

Dissolve yeast in 1/2 cup of warm water. Add sugar and stir until dissolved. Let sit for 10-15 minutes until water is frothy.

Combine flour and salt in large bowl. Make a small depression in the middle of flour and pour yeast water in depression. Slowly add 1 cup of warm water and stir with wooden spoon or rubber spatula until elastic.

Place dough on floured surface and knead for 10-15 minutes. When the dough is no longer sticky and is smooth and elastic, it has been successfully kneaded. Coat large bowl with vegetable oil and place dough in bowl. Turn dough upside down so all of the dough is coated. Allow to sit in a warm place for about 3 hours, or until it has doubled in size.

Once doubled, roll out in a rope, and pinch off 10-12 small pieces. Place balls on floured surface. Let sit covered for 10 minutes. Preheat oven to 500 deg F. and make sure rack is at the very bottom of oven. Be sure to also preheat your baking sheet.

Roll out each ball of dough with a rolling pin into circles. Each should be about 5-6 inches across and 1/4-inch thick.

Bake each circle for 4 minutes until the bread puffs up. Turn over and bake for 2 minutes.

Remove each pita with a spatula from the baking sheet and add additional pitas for baking.

Take spatula and gently push down puff. Immediately place in storage bags.

Plum-and-cinnamon crumble

Image

Curtis Stone is my favorite celebrity chef. He’s easy on the eyes and he makes cooking accessible for the average person. I started watching him on “Take Home Chef” a few years ago and have been paying attention ever since. I have both of his cookbooks, but I favor his second one, “Relaxed Cooking With Curtis Stone,” because the recipes are simpler and have always turned out well for me. If it wasn’t for this book, I never would have attempted to make a pork roast with brandied apple compote.

One of the recipes I frequently turn to is his plum and cinnamon crumble. It’s similar to a crisp, but the topping uses regular sugar instead of brown sugar, so the flavor is lighter.

When choosing plums for this recipe, choose ripe plums that are tender to the touch. Plums that aren’t quite ripe make the finished product too tart and too firm. I made the mistake of choosing firmer black plums the first time I made this, and the end result was not what I’d hoped for. The second time I made it, the plums were slightly firmer than I wanted, so I macerated them with vanilla sugar for about a half hour. That process got them to where I wanted them to be, and the end result was perfect.

Filling:
2 pounds plums, halved, pitted and cut into six wedges
1/3 cup sugar
2 cinnamon sticks

Topping:
3/4 cup all-purpose flour
1/2 cup sugar
1/2 cup rolled oats (not instant)
8 tablespoons (1 stick) cold unsalted butter, cut into pieces
3/4 cup sliced almonds, coarsely chopped

Preheat the over to 350ºF. To make the filling, toss the plums, sugar and cinnamon sticks in an 8-inch-square bake dish. Arrange the mixture evenly in the dish, tucking the cinnamon sticks beneath the plums.

To make the topping, mix the flour, sugar and oats in a medium bowl to blend. Using your fingers, work the butter into the flour mixture until moist clumps form. Mix in the almonds. Sprinkle the crumb topping evenly over the plum mixture.

Bake for 45 minutes or until the juices are bubbling, the fruit is tender and the topping is golden brown. Allow the crumble to stand at room temperature for 5 minutes before serving.

Spoon the crumble into bowls, discarding the cinnamon sticks, and serve with vanilla ice cream.

Hello and welcome

Baking is transformative. The process begins with a handful of ingredients and progresses into a delightful combination of sounds, smells and flavors.  There’s nothing like the smell of brownies wafting from the oven, knowing you got the recipe just right.

Baking is my favorite hobby. I get to work with my hands, awaken my senses and learn something new along the way. It’s a sweet distraction, a symphony of sounds — caramel boiling, sugar being poured into a bowl, the crack of an egg, a spoon stirring, parchment paper ripping — a pleasant pastime, a carefully choreographed dance. I do it because I love it. I do it because I can wrestle with dough and my thoughts at the same time and come to a conclusion for at least one of those things.

My family, friends and coworkers frequently serve as my guinea pigs as I produce trays of brownies, bars and other goodies. They’re good sports, but for me there’s no greater pleasure than baking something that reminds someone of a memory or feeling. 

But sometimes the recipes don’t work out so well. I’ve burned my hand pulling something out of the oven and had boiling syrup splatter onto my arm. Most self-taught bakers have similar stories. Burns and tales of recipes gone wrong unite us, but we refuse to take off our aprons and throw down our spatulas. In a world full of recipes, there’s no time for quitting.

This refusal to back down from boiling pots and sharp knives is what brought me here. About five years ago, I decided I wanted to learn to cook, but my odd work schedule kept me from taking any classes. I took it upon myself to try, try again. There have been some disasters, but more successes, and a lot of learning. I’ve had a lot of people request recipes on a regular basis and I thought this would be the easiest way to provide them. If you take away anything from reading this blog, I hope it’s a good recipe that makes you smile with satisfaction as you pull the finished product out of the oven.