This week I discovered elderflower liqueur. Over the years, I’ve seen it mentioned in cookbooks or called for in drink recipes, but I’d never picked up any to try. I decided it was time to see what all the fuss was about.
I picked up a bottle of St-Germain, a brand of elderflower liqueur, which came with a small tag that included a recipe for its signature cocktail. I figured that was a good starting point. The liqueur itself is a slightly sweet, mellow alcohol. The St-Germain Cocktail was a bit sweet and a bit fizzy, without being too strong. It was a pretty light, refreshing drink fit for a hot day. Since I enjoyed that one so much, I decided to browse the St-Germain website to see if they had any other recipes. They have a few dozen, so I chose two others to try. I settled on The Gentleman, because I have cognac in the cupboard that I use for baking, and the Traditional Elderfashioned, because I keep a bottle of whiskey and bitters on hand. The Gentleman was sweeter and richer than the St-Germain Cocktail, but was also good. The Traditional Elderfashioned was stronger than both, and I enjoyed it as well.
So far, I’m three-for-three on drinks that use elderflower liqueur. They’re listed below in order from weakest to strongest. Next I’ll have to see what I can bake with the liqueur. Cheers!

The St-Germain Cocktail
2 parts Brut Champagne or Dry Sparkling Wine
1 1/2 parts St-Germain
2 parts club soda
Stir ingredients in a tall ice-filled Collins glass, mixing completely.
The Gentleman
1 part Spanish brandy or cognac
3/4 part St-Germain
1 cube brown sugar
2 dashes Angostura bitters
Top with Brut Rosé Champagne or Brut Sparkling Wine
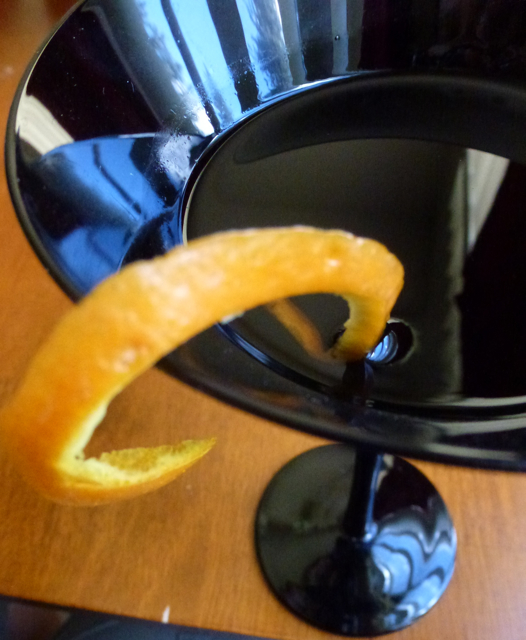
Cover a brown sugar cube with Angostura bitters at the bottom of a Champagne flute and add brandy and St-Germain. Top with Champagne and garnish with a lemon twist.
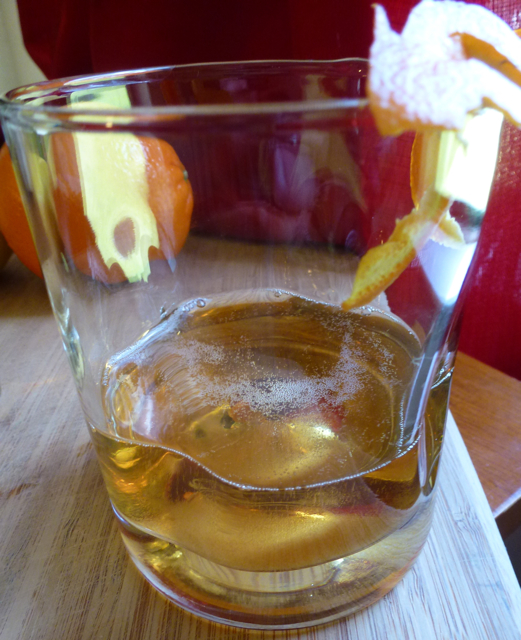
 Traditional Elderfashioned
2 parts bourbon or straight rye whiskey
1/2 part St-Germain
2 dashes Angostura bitters
Stir ingredients in an old fashioned glass, add ice and stir again. Add an orange twist.